D.I.Y: Collage Scarf
DIY: Easy sewing project-Denim Collage Scarf.
This very simple DIY is called a "Denim Collage Scarf"!
Hello lovelies,
With fall right around the corner, it's time to start thinking about bundling up. It's a sad fact but so true! I've created a funky scarf that is pretty freaking dope; I call it the " Denim Collage Scarf". (I originally chose a different name but it just didn't roll off the tongue well enough.lol)
Back to business...
This is a short video of what you will be making. After watching, get started!
This Scarf has 4 simple steps and should take about an hour to complete.
Tools needed:
1. Denim scarf/ fabric
2. T-shirt transfer paper(for dark fabrics)
3. Scissors
4. Iron
5. Fabric glue
6. (optional) Sewing machine or needles to hand sew
Step 1.
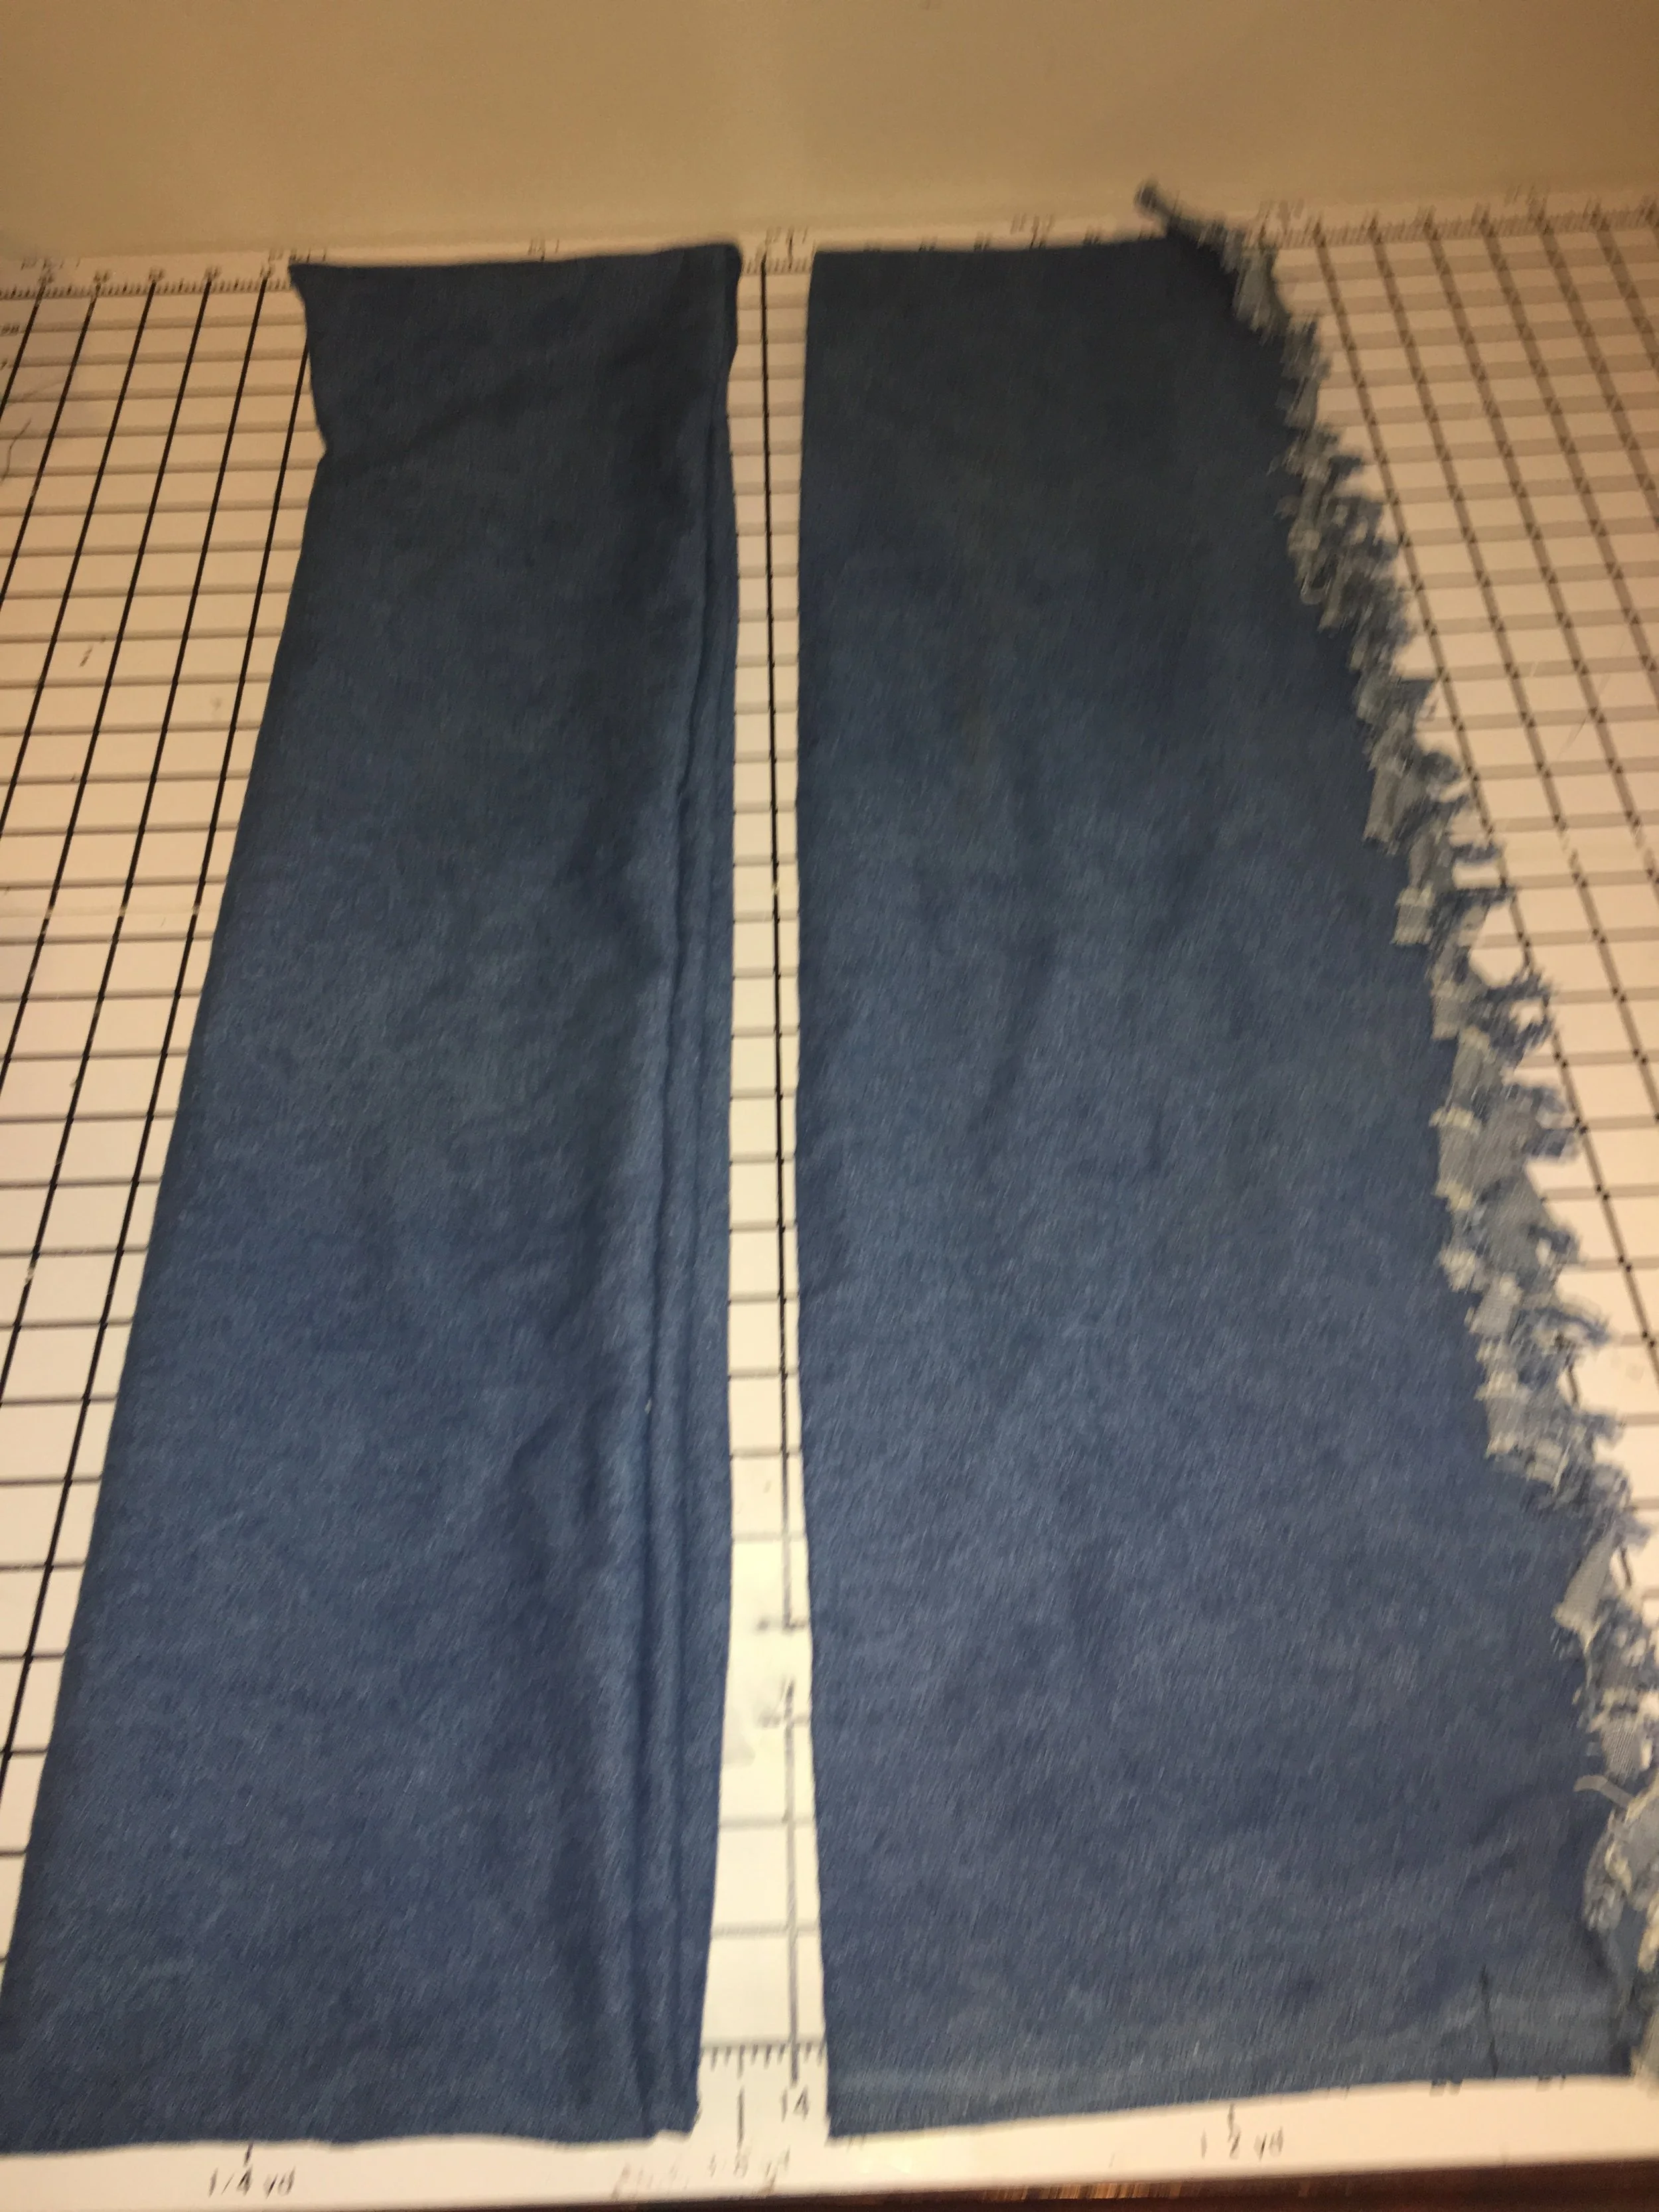
Cut out fabric square based on the size you want your scarf. I decided to make an infinity scarf that I could wrap around twice and my scarf is 57 inches long and 14.5 inches wide.
Step 2.
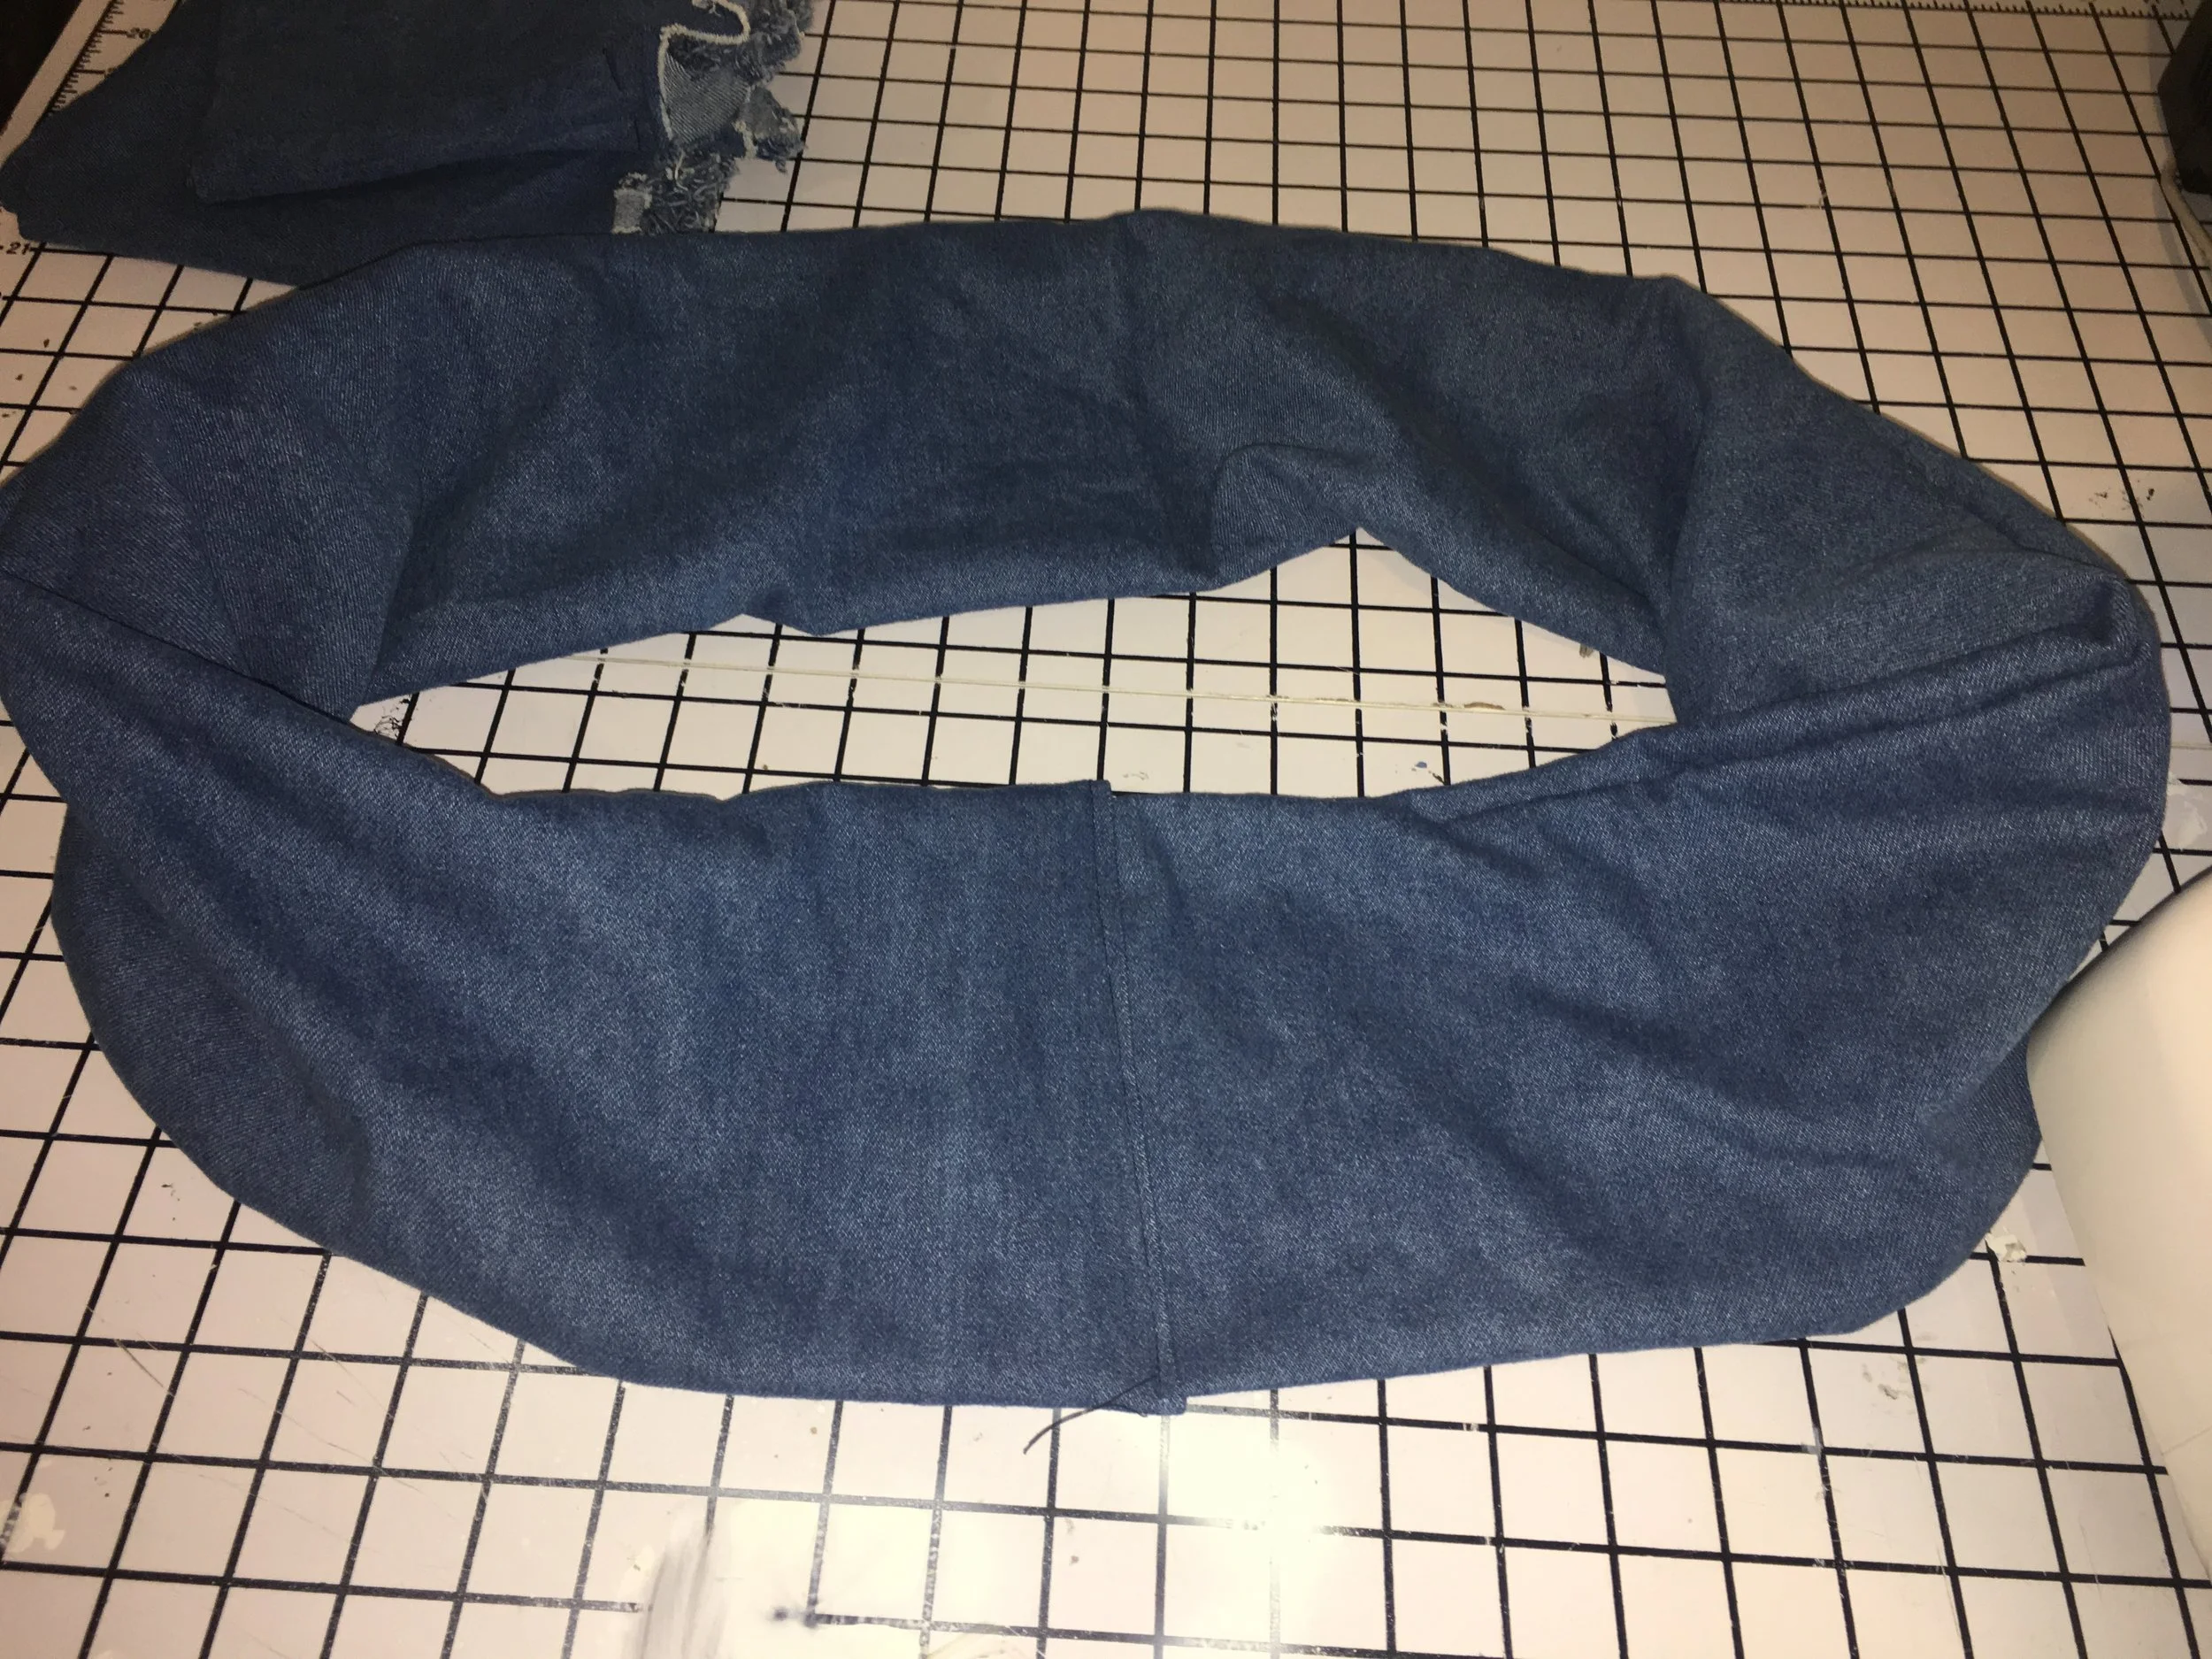
Sew along the length(hotdog style) of the fabric. Make sure to sew on the wrong side of the fabric so that when you flip it inside out the fabric will look neatly hemmed. Then make a one to two-inch fold on one of the unfinished sides and tuck the unfolded edge inside of it so that the entire scarf begins to look circular like an infinity scarf.
If you decide to leave your ends frayed, you can skip 1.A and 1.B.
1.A. Sew, glue or tape along the length.
Alternative 1.A. (frayed ends) Cute one-inch long slits in the fabric along the length of the scarf on the right side of the fabric.
1. B. Fold one edge of the scarf one to two-inches inward after you've flipped the denim to its right side.
1. C. Fold on side and tuck to create the circular infinity scarf.
Alternative 1.C. (frayed ends) Leave the scarf folded hotdog style and tuck the unfinished ends(shown above)
Step 3.
Find images online or even in old photo albums to add to your denim. Figure out where you would like to place the pictures on your denim fabric and begin to iron on.
Place your images where you think they fit best. Follow transfer paper instructions to figure out the best technique for ironing your transfer paper.
Step 4.
Iron, Man! (see what I did there...such a nerd.)lol
** If you'd like to see a video tutorial on this scarf comment below.**


